- July 23, 2024

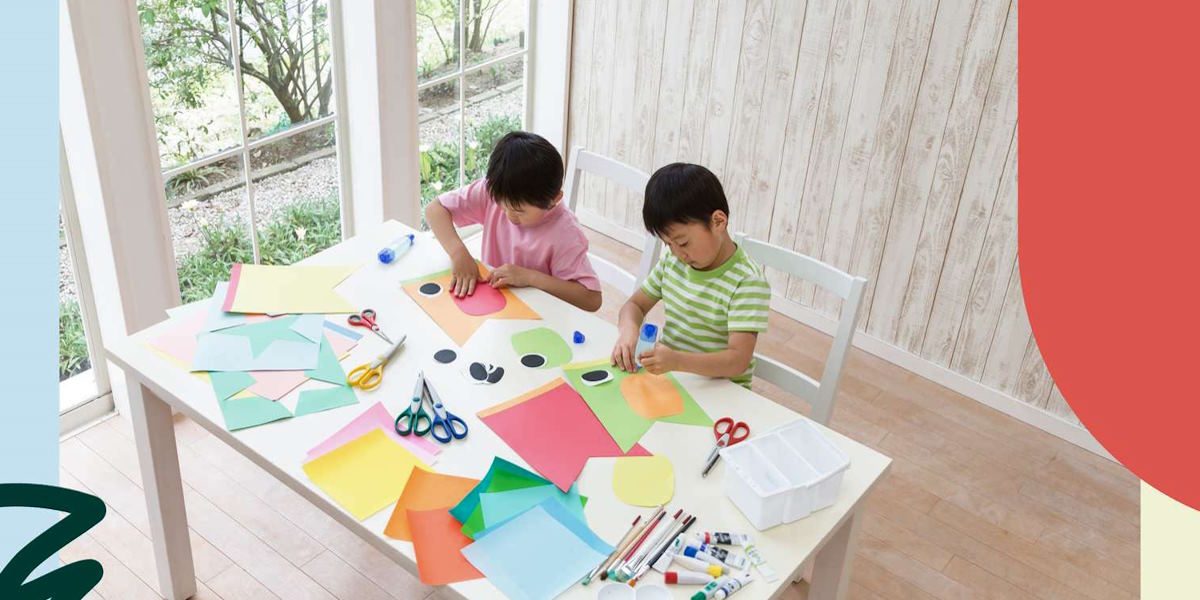
Have you ever wished for a family activity that’s both fun and meaningful? DIY projects are like a treasure chest of joy waiting to be discovered. They offer a perfect blend of creativity and togetherness, turning ordinary days into extraordinary experiences. Imagine creating something special together, whether it’s a unique garden decoration or a fun science experiment. Just like crafting a masterpiece from a blank canvas, these projects let each family member add their own touch, making the whole process an exciting journey.
Family-Friendly DIY Crafts
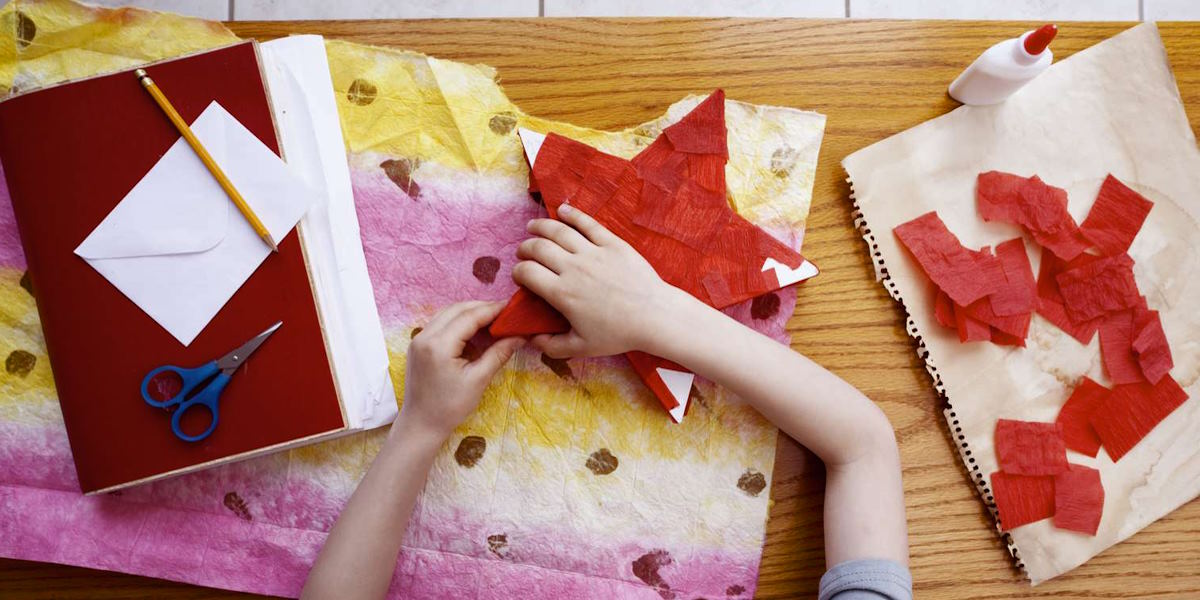
Paper Mâché Creations
Paper mâché might sound like a fancy term, but it’s really just a fun way to turn old newspapers into artistic masterpieces. Picture this: with just a few simple materials, you can create everything from masks to bowls to funky sculptures. Here’s how you can get started:
Materials Needed:
- Old newspapers
- Flour
- Water
- Paint (for decorating)
Instructions:
- Prepare the Paste: Mix one part flour with two parts water until you have a smooth paste.
- Tear the Paper: Rip newspapers into small strips.
- Apply the Paste: Dip the strips into the paste and layer them over a balloon or mold.
- Let It Dry: Allow the paper mâché to dry completely before popping the balloon or removing it from the mold.
- Paint and Decorate: Once dry, paint your creation and add any additional decorations you like.
You can use this method to make masks for a costume party, decorative bowls for holding keys, or even unique sculptures to brighten up any room. It’s a fun project that’s easy on the wallet and perfect for all ages!
Custom T-Shirts
Want to wear something that’s uniquely yours? Creating custom t-shirts is a fantastic way to express your creativity and have a matching family set. Plus, it’s as easy as pie. Here’s a simple guide:
Materials Needed:
- Plain t-shirts
- Fabric paint
- Stencils or sponges
Instructions:
- Choose Your Design: Think of a fun design or phrase you want on your t-shirt. It could be a family slogan, handprints, or favorite animals.
- Prepare the Shirt: Lay the t-shirt flat and place a piece of cardboard inside to keep the paint from bleeding through.
- Apply the Paint: Use stencils or sponges to apply the fabric paint to the shirt.
- Let It Dry: Allow the paint to dry completely before wearing your new custom creation.
This project is not only enjoyable but also creates a tangible memory every time you wear your personalized t-shirt. Imagine the smiles when everyone is rocking their unique designs!
 Outdoor DIY Fun
Homemade Bird Feeders
Creating homemade bird feeders is like inviting nature’s little guests to your backyard party. It’s a wonderful way to teach kids about wildlife and enjoy some outdoor fun. Here’s a simple method to attract your feathered friends:
Materials Needed:
- Pine cones
- Peanut butter
- Birdseed
- String (optional)
Instructions:
- Prepare the Pine Cone: Spread peanut butter all over the pine cone, making sure to cover every nook and cranny.
- Add the Birdseed: Roll the peanut butter-coated pine cone in birdseed until it’s completely covered.
- Hang It Up: Tie a piece of string around the top of the pine cone (if desired) and hang it from a tree branch.
Watching birds peck at your homemade feeders is a delightful way to enjoy nature and see the results of your handiwork. Plus, it’s a fun and simple project that kids can easily help with!
Garden Stepping Stones
Garden stepping stones are like little pieces of art that guide you through your garden. They add a personal touch to your outdoor space and can be customized to suit your style. Here’s how to make them:
Materials Needed:
- Concrete mix
- Molds (plastic or silicone)
- Decorative items (like stones, shells, or tiles)
Instructions:
- Prepare the Concrete: Follow the instructions on the concrete mix package to prepare it.
- Pour into Molds: Fill the molds with the concrete mixture and smooth the surface with a spatula.
- Add Decorations: Before the concrete sets, press your decorative items into the surface.
- Let It Set: Allow the concrete to cure completely before removing it from the mold.
These stepping stones not only enhance your garden’s charm but also serve as a great way to involve the whole family in a creative outdoor project.
Home Improvement Projects
DIY Mini Bookshelves
Building mini bookshelves is a rewarding way to add a personal touch to your home while organizing your favorite reads. Plus, it’s an excellent project for kids to help with, introducing them to basic woodworking skills.
Materials Needed:
- Wood planks
- Screws
- Paint or stain (optional)
Instructions:
- Cut the Wood: Measure and cut the wood planks to the desired size for your mini bookshelf.
- Assemble: Screw the pieces together to form the bookshelf structure.
- Paint or Stain: If desired, paint or stain the bookshelf to match your home décor.
- Install: Place the bookshelf in its intended location and fill it with your favorite books or decorative items.
This project is not only practical but also gives you a sense of accomplishment when you see your finished bookshelf holding your treasured books.
Customized Storage Jars
Customized storage jars are like a fun and functional way to organize your home. They can turn clutter into a neatly arranged space with a personal touch. Here’s how to create your own:
Materials Needed:
- Glass jars
- Labels (or paint for decorating)
- Markers or paint
Instructions:
- Clean the Jars: Make sure your glass jars are clean and dry.
- Decorate: Use labels or paint to customize the jars. You can write names, draw pictures, or add patterns.
- Fill and Use: Use the jars to store everything from spices in the kitchen to craft supplies in the garage.
These jars add a bit of charm and organization to your home, and they’re a great way to involve the kids in a simple yet satisfying project.
 Seasonal DIY Projects
Holiday Ornaments
Making holiday ornaments is like creating a little bit of festive magic that you can hang on your tree year after year. It’s a fantastic way to get into the holiday spirit and create personalized decorations.
Materials Needed:
- Various craft supplies (glitter, glue, felt, etc.)
- Ornament shapes (plain or pre-made)
Instructions:
- Choose Your Supplies: Gather the materials you want to use for decorating your ornaments.
- Decorate: Use glue, glitter, and other craft supplies to create your design on the ornament.
- Let It Dry: Allow the glue and other materials to dry completely before hanging.
Each ornament you create will be a unique piece that adds to the holiday cheer and becomes a cherished part of your holiday traditions.
Summer Wind Chimes
Summer wind chimes are like musical sculptures that add a touch of whimsy to your garden. They create beautiful sounds that can make your outdoor space feel even more magical.
Materials Needed:
- Beads
- Old silverware (like spoons and forks)
- String
- Drill (to make holes in the silverware)
Instructions:
- Prepare the Silverware: Drill holes into the silverware if needed.
- Assemble: Thread beads and silverware onto strings and tie them to a central piece (like a small hoop or ring).
- Hang: Find a spot in your garden or patio to hang your wind chimes and enjoy the gentle music they create.
This project is perfect for adding a personal touch to your outdoor space and makes for a relaxing and enjoyable summer activity.
Educational DIY Projects
Science Experiments
Science experiments are like little adventures into the world of discovery and fun. They’re not only educational but also offer a hands-on way to learn about the world around us.
Volcano Eruption
Creating a volcano eruption is like watching a mini lava flow right in your kitchen. It’s a fantastic way to teach kids about chemical reactions in a fun and engaging way.
Materials Needed:
- Baking soda
- Vinegar
- Food coloring (optional)
Instructions:
- Prepare the Volcano: Place baking soda in a container or mold shaped like a volcano.
- Add Color: If desired, mix a few drops of food coloring into the vinegar.
- Create the Eruption: Pour the vinegar into the container with baking soda and watch the eruption!
Homemade Slime
Homemade slime is like a gooey, stretchy adventure that’s perfect for hands-on learning about physical properties.
Materials Needed:
- Glue
- Borax
- Water
Instructions:
- Mix Ingredients: Combine glue and water in one bowl, and mix borax with water in another bowl.
- Combine: Slowly mix the borax solution into the glue mixture until it forms slime.
- Knead: Work the slime with your hands until it reaches the desired consistency.
DIY Learning Games
Learning games are like interactive lessons wrapped in fun. They make education feel like play and are a great way to spend quality time with your family.
Custom Memory Game
Creating a custom memory game is like designing your own deck of cards where every match is a step closer to winning.
Materials Needed:
- Index cards
- Markers
Instructions:
- Prepare the Cards: Write or draw matching pairs on the index cards.
- Mix and Match: Place the cards face down and take turns flipping them over to find matching pairs.
Homemade Puzzle
Designing your own puzzle is like creating a fun challenge that’s perfectly tailored to your interests.
Materials Needed:
- Cardboard
- Markers
- Scissors
Instructions:
- Draw Your Design: Create a picture or design on the cardboard.
- Cut the Pieces: Cut the cardboard into puzzle pieces.
- Assemble: Put the pieces together to complete your custom puzzle.